Saturday, March 31, 2012

Whitewashed Old Pine Trunk


I have to say my mind can be all over the place.   I typically have my project line-up floating around in my head as each new week rolls around.  This one wasn’t even on my radar.
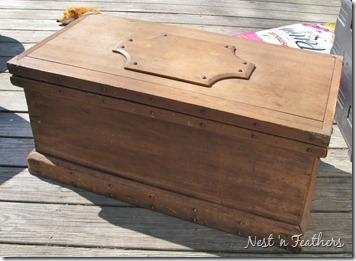
0325 Trunk BEFORE
A beat up old trunk with plenty of dings.
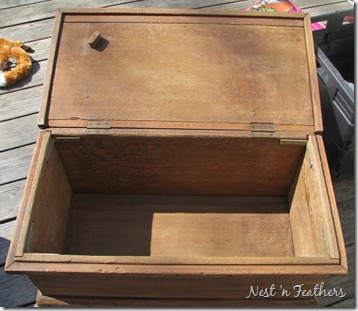
0325 Trunk OPEN
I could either try to sand out the dings or work with them.
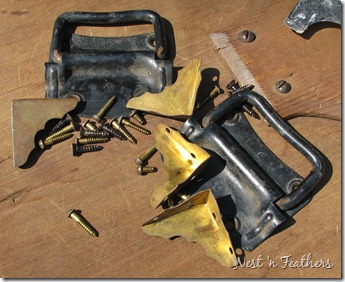
0325 Trunk HARDWARE
I removed the hardware and soaked it in a solution of hot water, vinegar and salt.   I cannot believe the amount of yuck that comes off.  I figured since it’s metal it wouldn’t be too bad.    Au contraire.  I let them soak for at least 24 hours and the stuff that was floating around……well, just yuck.

0325 Reunk CLOSE 2
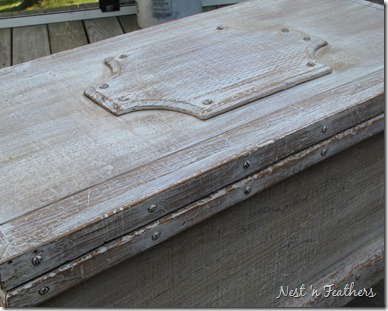
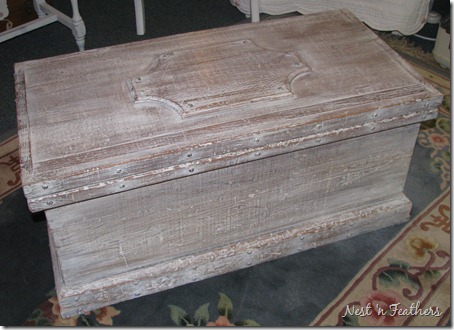
I decided to whitewash this one.  Mixed up some paint and water and rubbed it on with a cloth.  The dings are even more visible and I’m kind of liking it.  (Plus, not sanding saved on a bunch of elbow grease!)

0325 Trunk PAINTED
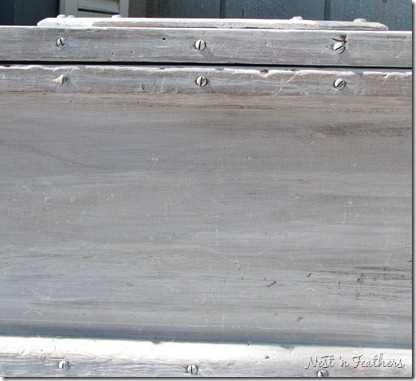
The wood soaked up the whitewash and it was a little on the blotchy side so I distressed it a bit.

0325 Trunk AFTER
The decorative corner pieces were nixed.  They didn’t “go” with the new finish.  I forgot to take a picture of the side handles but the got a rub down with silver Rub & Buff and were distressed to let a little of the original black color.   Then buffed with Johnson’s Paste Wax and within 24 hours it was “looking for love”  in the shop.
Linking up with:
 

Wednesday, March 28, 2012

CPR for a Little Hutch


This was a crazy piece to deal with! 
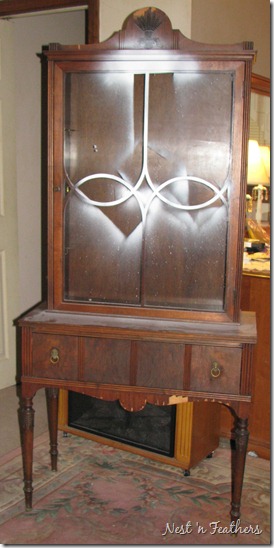
First of all it came to me by a circuitous route.  I spotted it back around December @ the SA.  I looked it over and felt that the price didn’t warrant the amount of work that I would have to put into.  So I walked away.  Fast forward about a month.  I was on a ‘scouting’ trip to the SA again and was talking to one of the employees about whether another piece would fit in my car.  It wouldn’t.  So he told me he had a piece in his truck that he had bought at the employee sale and thought that I might be interested in it.  Out to the parking lot we go.   It was the same piece I had pondered earlier.  So I bought it at a much reduced price.
0324 Small hutch
It sat in my garage for another month or so (and was obviously  the victim of another spray painting project).

0324 Small hutch 2
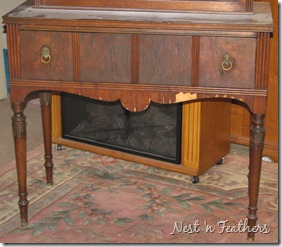
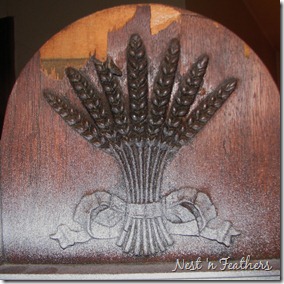
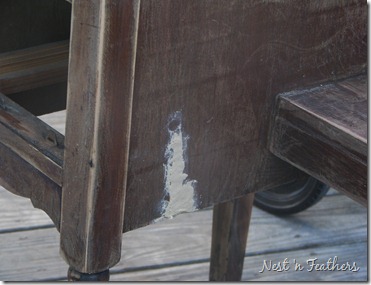
When I finally decided it was time to haul it out of storage and go to work, I questioned my sanity.   Not only were there veneer issues but the decorative wood appliques on the legs and top were cracked and missing.

0324 Small hutch 3
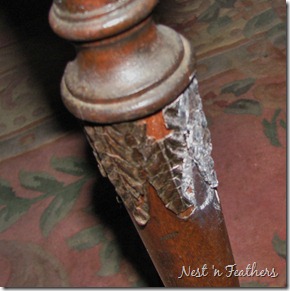
I pondered just scraping it all off but thought I would try making a mold of one of the pieces that was intact because it really brought some charm to the piece.
0324 Small hutch 5
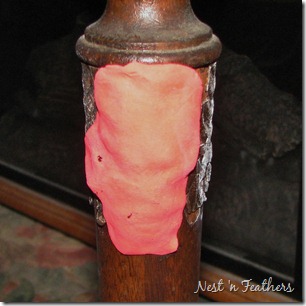
Break out the Model Magic (I think that’s what it’s called.) I made a mold of one of the good pieces then peeled the mold off and let it dry for a few days.  (All the while giving serious consideration to making firewood out of this monster.)
0324 Small hutch 6
I then put wood filler where appliques were missing and pressed on the mold and removed it right away.   I let it dry for a couple of hours. When dry, I then used a blade to shape it a little.

0321 Vanity AFTER
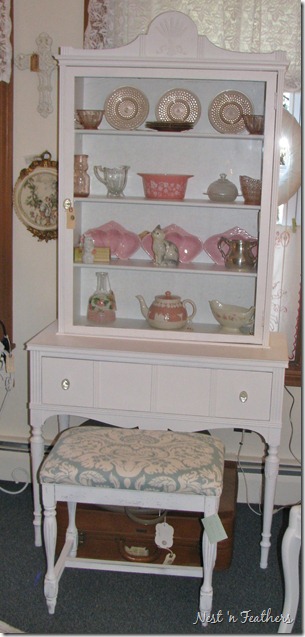
After much scraping, gluing, clamping, and molding, it was painted a made it’s way to the shop.   Although not perfect, the repairs turned out pretty good.  (Sorry no close-ups.  I guess I ran away from it as soon as I had the chance!)

Thursday, March 22, 2012

Mirror, Mirror…….Worth the Effort?


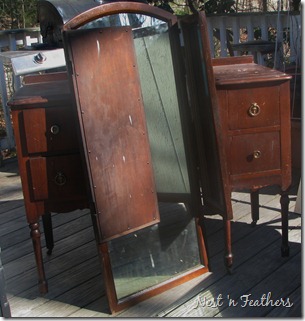
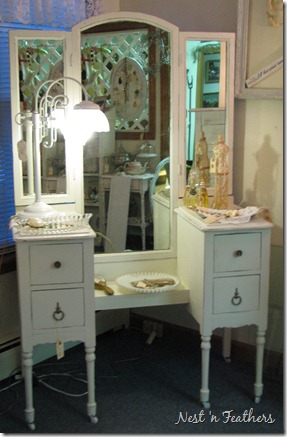
I love vanities!  Waterfall, Deco, whateva!   I’ve recycled a few waterfall vanities with the big round mirror and I love them.    This was my first vanity with a tri-fold mirror.
02 Vanity
As much as I love ‘em they always seem to always have veneer.  Veneer is the enemy.  (I am not quite sure why it was ever used because usually the wood underneath is at least as good if not better…..but you can’t change the past.)

02 Vanity 3
This one was no different – not severe because I’ve seen worse but veneer can be a real bugger.


02 Vanity 2
I’ll spare the lurid details but I fixed the veneer and then sanded, sanded, sanded.

0321 Vanity 2
Tada!  Totally re-foofed and ready for sale at The Stray Cat!

Saturday, March 17, 2012

Quickie: Herb Bucket


Most of the time I take on projects that require daaaaays of TLC.  Prepping and priming and painting……..yada yada.  So it’s always fun when a quickie comes along!


0317 Herb Bucket

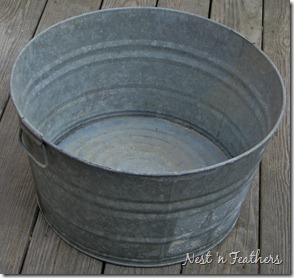
Galvanized steel bucket.


0317 Herb Bucket SUPPLIES

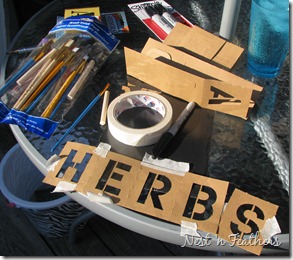
Supplies.


0317 Herb Bucket STENCIL

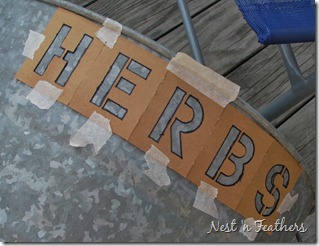
Apply stencils and outline letters with a Sharpie.

0317 Herb Bucket OUTLINE

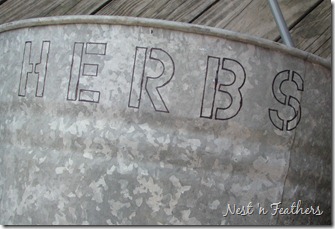
Ready for paint.


0317 Herb Bucket AFTER

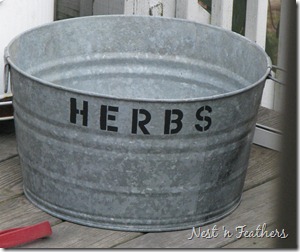
Ready for some catnip for my kitties to roll around in.  Or a mix of kitchen staples….Cilantro, Basil, etc.  I may add casters so I can maximize sun exposure out on the deck.  Quick ‘n Easy works for me.


I originally intended to put it in the shop but I think I need it.

Thursday, March 15, 2012

Repurposing: More Than Just a Suitcase


I have a thing for vintage suitcases.  The old hard-sided ones that show up at yard sales.    I buy them all the time.   The only deal breaker is if they have a smell.    I can’t begin to imagine what people think of me sniffing their cast-off suitcases but…..it is what it is.

Certain suitcases sell quickly while the more common ones linger.  I thought I would get a little creative with one of the ‘common’ ones.

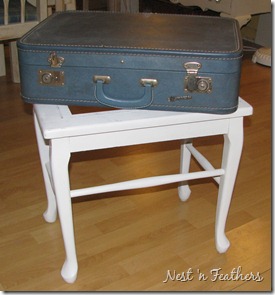
0314 Suitcase table
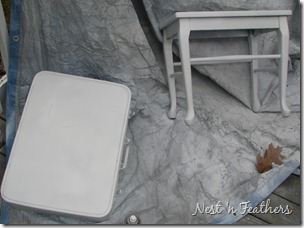
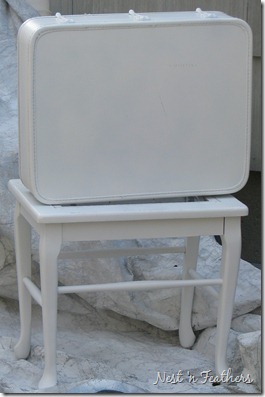
This bench was sitting in my garage “topless” so…..  Suitcase meet bench.
0314 Suitcase table 2
0314 Suitcase table 3
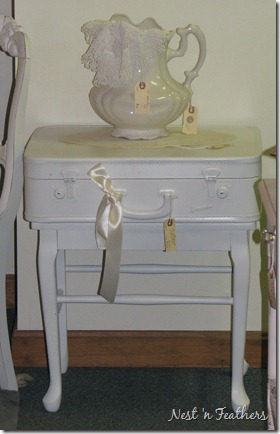
I screwed the suitcase to the bench and tada!
0314 Suitcase table 4
A table with storage!